How to Build a Golf Ball Display Case
- Step 1–Trim the Boards. Start with trimming the boards to the desired size. Two wooden boards, measured three feet each,...
- Step 2–Mark and Create Indentations. Measure and place a mark at the center of all shelf boards. The marks will help you...
- Step 3–Secure the Board Shelves. Position one side piece on its flat larger side and...

Do you need a display case for your golf balls?
Jul 05, 2018 · You can buy this case here: http://bit.ly/2NrEx0IGo and get a GO AND MAKE IT SHIRT: http://bit.ly/2tXKoTrSocial Media:- Instagram: https://www.instagram.com/...
How to build a wooden display case?
Dec 02, 2019 · It only took an afternoon to build, and it only cost about $15 in supplies. Not bad! I drew up the plans, so you can build this yourself. And I shared these plans, along with my baseball display shelf over on BuildSomething. com. I like sharing my plans on BuildSomething.com because they have an extensive library of any plans you could ever ...
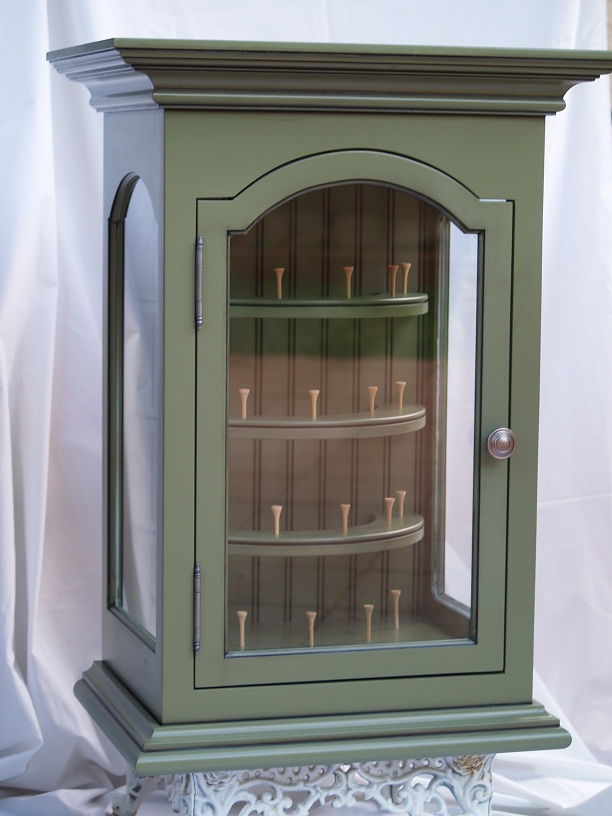
How to install golf balls on shelf boards?
Build Frame Cut 2- 14" 1x3 boards. Drill pocket holes in each end of both boards. Cut 2- 18 1/2" 1x3 boards. Secure the 14" boards to the 18 1/2" boards with 1 1/4" pocket hole screws and wood glue to make a frame. Add top board A 1- 14" 1x3 to the underside of the top board with wood glue and either 1 1/4" pocket hole screws or 1 1/2" brad nails.
How do you put shelves on a display case?
Jan 05, 2021 · I show what someone needs and how to build a golf ball display case for cheap, also extremely affordable.
I am so excited to show you how to build a golf ball display case
My husband loves to golf, and each time he golfs at a new golf course, he buys one of their golf balls from the pro shop. By now he’s collected a few different golf balls from some pretty cool courses.
Find the free golf ball shelf building plans here
If you used this tutorial in your own home, I would love to see photos and share them here on my blog! Please email completed photos to [email protected]
Step 1: Tools and Materials
As you can see the tools and materials required are fairly simple. I used a table-mounted power miter saw to fashion my jig but the handheld one would have worked as well. As I was going to be working on a verticle surface I made a more complicated jig than I might have otherwise made. The tees will form the pegs that hold the balls in place.
Step 2: Test Your Materials
I was going to be doing a lot of drilling and hammering in an exposed area so I wanted to be sure this plan was going to work out before I started on the actual bookshelf.
Step 3: Fashioning the Jig
The first thing to make is the jig. The function of the jig is to give you a template for placing your holes so that they are evenly spaced and provide a guide for your drill.
Step 4: Drilling the Holes
I was using narrow scrap for this as it was the only hardwood on hand but if I had a wider piece I would have aligned the holes so that the bottom of the jig and the top row of holes were equidistant from the bottom row of holes so that I could use the jig itself to space out multiple rows.
Step 5: Mounting the Tees
Now that the holes were in place the last thing to do was to mount the tees in them. A standard size tee has quite a long shaft, even the shortest ones, so you will probably want to cut them down a bit. It's aesthetically more pleasing to have the balls fit tightly to the surface on which they are mounted.
Step 6: Putting Up the Golf Balls!
Everything is in place now, all that remains is to mount your golf balls.