How do you attach antennae to a golf ball?
SAFETY TIP: Use a vice for holding the golf balls steady while drilling. Insert legs and antennae into drilled holes. If they don’t fit snugly, add a bit of adhesive to the wire end and then insert it in the hole. Attach nut (nose) and/or washers (eyes) and/or screw (bird beak/bill) with adhesive. Allow to dry. Prime everything and allow to dry.
How do you make a bird out of a golf ball?
Mark your locations for legs and antennae and drill the holes in the golf balls. I drilled mine approximately 3/4″ inch deep. BIRD: The bird’s tail is created with one 10″ piece of wire, shaped in a loop , and inserted into 2 holes at back of golf ball.
How do you drill holes in a golf ball buggy?
To get good curls, start with the tips of the wires in the pliers, and curve the wire around the pliers. SAFETY TIP: If these buggies will be used by kids, curl all exposed wire ends so they are not sharp. Mark your locations for legs and antennae and drill the holes in the golf balls. I drilled mine approximately 3/4″ inch deep.
How many golf balls do you need to make a Buggie?
Golf balls (one per buggie, unless you’re making something like caterpillars or ants where you join several together) The bird beak/bill is a metal screw.

How do you make a golf ball in blender?
0:026:11Blender & Substance - Golf Ball Tutorial - YouTubeYouTubeStart of suggested clipEnd of suggested clipGo into face select mode double tap i and then scale those faces down now apply a sub d modifier ofMoreGo into face select mode double tap i and then scale those faces down now apply a sub d modifier of one or two make sure you shade smooth. And there we go we have a golf ball it's. Done.
How do you make a golf ball in CAD?
1:525:22GOLF BALL IN SOLIDWORKS | 3D MODELING | CAD TUTORIALYouTubeStart of suggested clipEnd of suggested clip2.25 give this challenge as 2.25 okay take line command once again this okay now take a ball cutMore2.25 give this challenge as 2.25 okay take line command once again this okay now take a ball cut select this profile. Select the axis of rotation like this. Okay okay make the first sketch as visible.
How do you make an Onshape golf ball?
0:0014:40Golf Ball on Onshape - YouTubeYouTubeStart of suggested clipEnd of suggested clipI'm going to start by drawing a circle from the center. Okay and this is going to have a specificMoreI'm going to start by drawing a circle from the center. Okay and this is going to have a specific diameter of 42.7 okay 42.7 zoom right in drag it to center take your line drawing.
How do you make a 3d golf ball?
0:135:03Maya 2018 3d Modeling Tutorial: Model a Golf Ball using MashYouTubeStart of suggested clipEnd of suggested clipToday we're going to be taking a look at how to create a golf ball in Maya quickly. And efficientlyMoreToday we're going to be taking a look at how to create a golf ball in Maya quickly. And efficiently using a match Network in combination with some simple primitives.
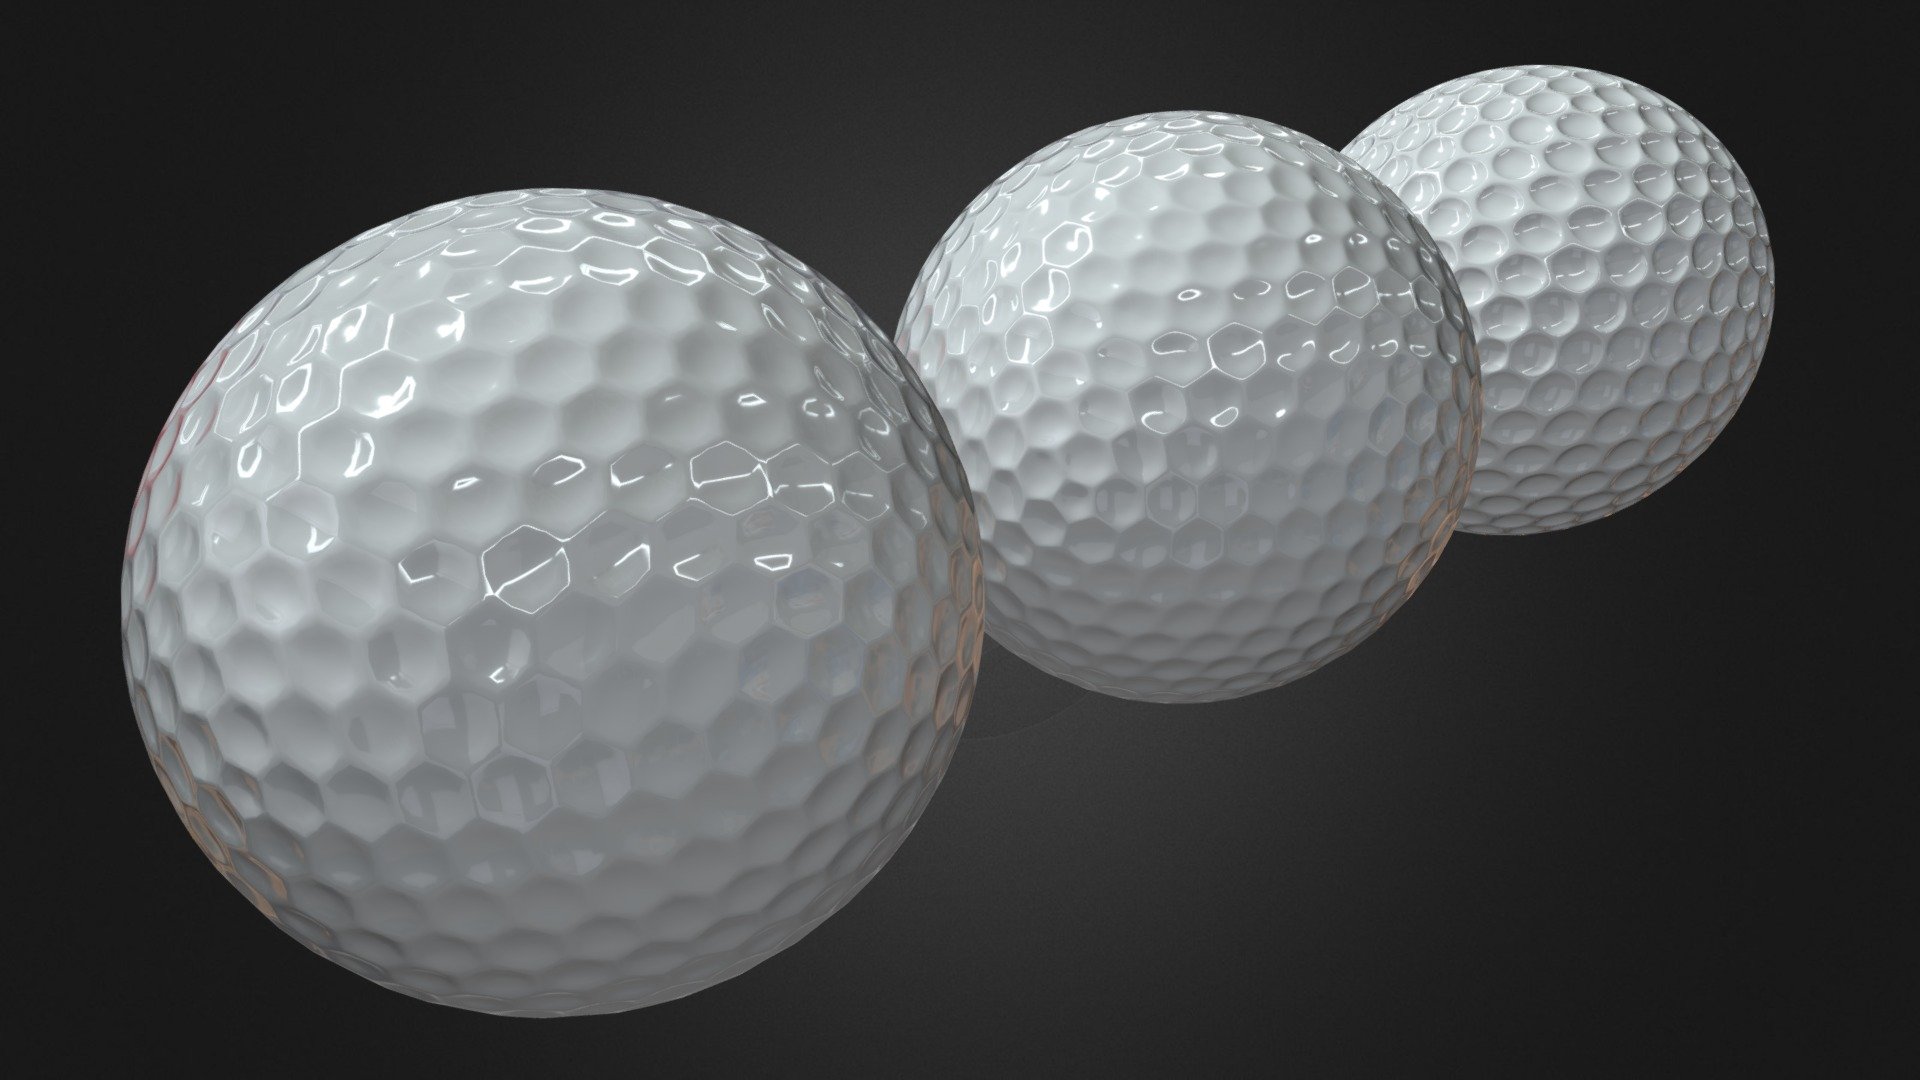
What's the diameter of a golf ball?
1.680 inchesAccording to the USGA Rules of Golf, the diameter of the ball shall not be less than 1.680 inches (42.67 mm). A smaller golf ball will generally fly further than a larger one given the weight is equal. The reason for this is: having a smaller diameter ball means less air resistance.
How do you make a sphere in SolidWorks?
Creating a Solid SphereCreate a new sketch.Draw a circle with a line intersecting it directly through the centre point.Trim one side of the circle away, leaving the central sketch line as solid.Create a Revolve Boss/Base.Direction Angle should be set to 360°Accept the feature.
What 3D shape is a golf ball?
The 3D shape is going to be roughly a cylinder in shape, maybe with a buldge in the middle, but the outer surface will have the holes. If there's a way to make a golf ball with the indentations, then what I need to do would be possible.
How do you make a 3D object on shape?
To do this, do the following:Right-click in the model space and select "isometric." This will rotate the camera back to a 3D view.Click on the "Extrude" tool circled in red in the first image.Click on the value circled in blue in the first image. ... You should now have a 3D part like the one in the second image.
How do you make a sphere on Onshape in CAD?
1:365:40Onshape : 4 : Revolve a Sphere - YouTubeYouTubeStart of suggested clipEnd of suggested clipOkay so we're going to go ahead and click the face we want or involve. Then we're going to go aheadMoreOkay so we're going to go ahead and click the face we want or involve. Then we're going to go ahead and click the axis to revolve around and there we have our sphere.
Step 1: Choose the right club
You aren’t going to put a backspin on a ball with a putter or a driver. Instead, you need to choose a lofted club. The more loft your club has, the easier it will be to generate elevation through the stroke.
Step 2: Use the right golf ball
The majority of golf balls from the big brands are not designed to spin that much. This is because they are made with a hard center, which adds weight to the ball and allows it to move through the air at fast speeds.
Step 3: Position your ball
At this point, you’ve picked out the right club, you’ve got the right ball, and now you can start preparing to hit the shot.
Step 4: Hit down on the ball at a steep angle
You want the ball to be close to your back foot because it makes this step easier to achieve.
Step 5: Hit as low on the ball as possible before striking the turf
Listen, you can never hit a golf shot without taking a bit of turf with you. It’s perfectly normal, and a lot of the time, you hit the turf before the ball. For regular shots, this isn’t always that big of a deal.
Step 6: Hit low on the clubface
As these steps are coming together, it’s funny how many of them go against everything that you’ve learned about hitting golf shots so far.
Step 7: Generate high clubhead speed
Clubhead speed refers to the speed of the clubhead as it strikes the ball. If you generate a high clubhead speed, the ball will spin a lot more.
What to cover a ball with when hitting a pipe?
Once you've got the screen attached and tensioned properly, and the cloth attached to the sides and top, cover all sections of the pipe with the foam pipe insulation to prevent hard bounces should your ball hit a pipe.
How to use tarp clips on screen?
Last resort, but sure-fire method: use tarp clips on bottom and top edges of the screen, behind the screen, connecting the top and bottom of the screen together with vertical long bungees or nylon cord tied tight.
How to make a bumblebee with a golf ball?
Step 1. Decide which buggies you want to make and gather the materials. Step 2. Wash and dry the golf balls. Step 3.
How to get good curls on a buggie?
To get good curls, start with the tips of the wires in the pliers, and curve the wire around the pliers. SAFETY TIP: If these buggies will be used by kids, curl all exposed wire ends so they are not sharp. Step 5. Mark your locations for legs and antennae and drill the holes in the golf balls.
Step 1: Tools and Materials
As you can see the tools and materials required are fairly simple. I used a table-mounted power miter saw to fashion my jig but the handheld one would have worked as well. As I was going to be working on a verticle surface I made a more complicated jig than I might have otherwise made. The tees will form the pegs that hold the balls in place.
Step 2: Test Your Materials
I was going to be doing a lot of drilling and hammering in an exposed area so I wanted to be sure this plan was going to work out before I started on the actual bookshelf.
Step 3: Fashioning the Jig
The first thing to make is the jig. The function of the jig is to give you a template for placing your holes so that they are evenly spaced and provide a guide for your drill.
Step 4: Drilling the Holes
I was using narrow scrap for this as it was the only hardwood on hand but if I had a wider piece I would have aligned the holes so that the bottom of the jig and the top row of holes were equidistant from the bottom row of holes so that I could use the jig itself to space out multiple rows.
Step 5: Mounting the Tees
Now that the holes were in place the last thing to do was to mount the tees in them. A standard size tee has quite a long shaft, even the shortest ones, so you will probably want to cut them down a bit. It's aesthetically more pleasing to have the balls fit tightly to the surface on which they are mounted.
Step 6: Putting Up the Golf Balls!
Everything is in place now, all that remains is to mount your golf balls.