- Tape the club head with masking tape to prevent it from being scratched during installation. Place shaft firmly in the vise.
- Making sure the hosel in the club head is clean, apply epoxy all around the inside of the hosel. ...
- Gently, push the shaft into the hosel of the club head, turning the shaft at the same time.
- Twist the shaft a bit to ensure the shaft is all the way down at the base of the hosel.
- Use acetone to remove any excess epoxy on the shaft, the new club head or the hosel. Remove masking tape from the club head.
- Let epoxy dry for 12 to 16 hours, and the new club head should be ready for use.

How to install a golf club head?
Step 1. Tape the club head with masking tape to prevent it from being scratched during installation. Place shaft firmly in the vise. Step 2. Making sure the hosel in the club head is clean, apply epoxy all around the inside of the hosel. Also, apply epoxy around the end of the shaft where the club head goes.
How to install a new golf shaft?
Roughen the tip of your new shaft before inserting it into the hosel of the club head. If the shaft is made of steel, use a piece of sandpaper. If you are inserting a graphite shaft, it would be best to use a belt sander because you can easily damage it by using sandpaper.
How do you remove steel shafts from a golf club head?
Using propane or a torch, heat the hosel of the club to remove the steel shaft from the club head. The heat will break the epoxy bond that holds the head to the shaft.
How to fix a broken Golf Club head?
Also, rid the residue of the old epoxy for the hosel by using a wire drill bit. Apply epoxy to the tip of the shaft and the inside of the hosel of the club head, and insert the shaft into it. Make sure all surfaces of both are covered.
How are golf club heads attached to the shaft?
Golf Club Epoxy. Adhesives are used in many different sports equipment bonding applications. One such application is that of bonding heads onto shafts for golf clubs. It sounds like an easy application and in principle it is – put some adhesive on the tip of the shaft and then insert it into the club head.
How do you reattach a driver head to shaft?
0:236:41HOW to FIX your GOLF CLUB if the HEAD comes off | Easy TutorialYouTubeStart of suggested clipEnd of suggested clipIf you want to just make sure you're getting the right thing basically just one side hardener. AndMoreIf you want to just make sure you're getting the right thing basically just one side hardener. And one side resin. And they mix together to form a really strong bond.
Can you put any golf head on any shaft?
Yes, most golf Driver shafts are interchangeable. Golf driver shafts can be replaced as long as the new shaft is the same length and made by the same brand of golf club.
What glue is used for golf club heads?
Golf club heads are attached to the golf shaft with epoxy glue. Epoxy is a thermosetting polymer that is a high strength adhesive. Two parts, the resin and the hardener, are mixed together to create a chemical reaction that cures the epoxy to hardness.
How do you fix a golf club head coming off?
2:0514:23LOOSE GOLF CLUB HEAD / How To Fix - YouTubeYouTubeStart of suggested clipEnd of suggested clipAhead put a little bit of epoxy. In that space between the ferrule. And the hosel squeeze them backMoreAhead put a little bit of epoxy. In that space between the ferrule. And the hosel squeeze them back together wipe it clean let it dry.
How do you replace club heads?
1:4010:45How to replace a golf club shaft - Step by Step - YouTubeYouTubeStart of suggested clipEnd of suggested clipProbably start off on high but you want to move it around on actual the hostile here kind of andMoreProbably start off on high but you want to move it around on actual the hostile here kind of and spinning it around a little bit and make sure you get this superhot.
What is a shaft adapter?
Shaft adapters make it possible to get the best fit between club and shaft and also enable very slight adjustments to the performance of the assembly that can improve your performance - and they can also make it possible to switch heads.
How do you install a shaft adapter?
3:1712:20Installing a Shaft Adapter - YouTubeYouTubeStart of suggested clipEnd of suggested clipSo we have a nice connection when we actually do apply the epoxy. So the first thing I want to do isMoreSo we have a nice connection when we actually do apply the epoxy. So the first thing I want to do is check the depth of the adapter as it goes on to the tip of the shaft.
Can you reuse shaft adapters?
One would be to reuse the existing adapter and the other is purchasing a new adapter sleeve and starting fresh. There are good reasons for either choice. If you do decide on using the original OEM adapter, then that will save money.
Can I use JB Weld on golf clubs?
Jb Weld can be used on both metal and plastic golf clubs. It is non-toxic and safe to use on most surfaces.
Can you use regular epoxy for golf clubs?
Unless you have to, do not use non-golf specific epoxies. Use epoxy designed for golf as they usually have higher peel sheer strengths and elastic properties that hold well during impacts specific to a golf club hitting a golf ball.
Can you use Loctite on golf clubs?
1:302:53LOCTITE Success Story: PING Golf - YouTubeYouTubeStart of suggested clipEnd of suggested clipSo they have a steel color with a lock type product that we use in our irons. It actually has a greyMoreSo they have a steel color with a lock type product that we use in our irons. It actually has a grey color to it. So they're using that grey Loctite adhesive.
Instructions
Tape the club head with masking tape to prevent it from being scratched during installation. Place shaft firmly in the vise.
About The Author
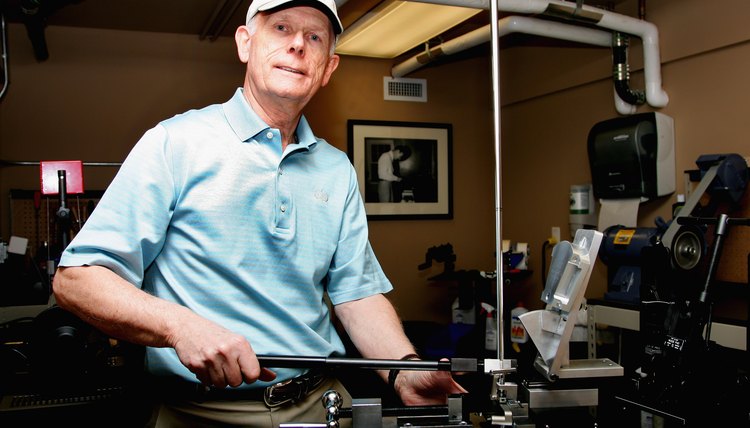
Tami Fisher received her undergraduate degree in mathematics, while also receiving a full-ride golf scholarship. She has extensive experience in the golf industry, as well as the employee benefits area. She is a die-hard Kansas basketball fan, and loves all sports.
Introduction
Steps to replace an old golf club shaft with a new steel shaft and replace an old grip with a new one.
Step 1 Golf Club Steel Shaft and Grip
Using propane or a torch, heat the hosel of the club to remove the steel shaft from the club head. The heat will break the epoxy bond that holds the head to the shaft.
Step 2
Use a wire brush to clean out the remains of the old epoxy from the club head.
Step 3
Use a piece of sand paper or a grinder to roughen the tip of the shaft where it connects to the hosel of the club head.
Step 4
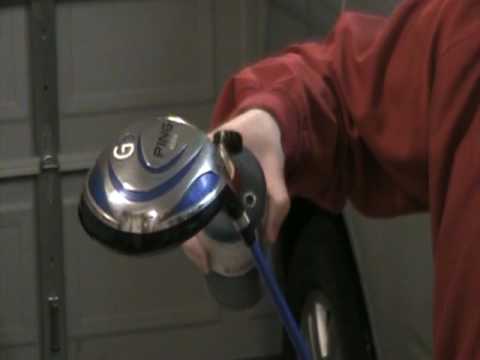
Pour epoxy into a container and stir to mix it together. Once epoxy is mixed together, spin the shaft tip into the epoxy to prepare for insertion into the head.
Step 5
Insert the shaft into the club head. Hold the head and shaft together for approximately 30 seconds to secure.
Step 6
To replace the grip of the club, place the club on a level surface where you can cut a straight line through the grip using a razor blade or a utility knife.
How to remove a golf club shaft?
Step 1. Remove the old shaft. It can be done by melting the glue, or epoxy, that holds the shaft to the head of the club. Use a blowtorch or a heating gun for this purpose. Aim it at the hosel--the connecting part of the head--until the epoxy softens and you can easily remove the shaft.
How to put on a golf grip?
Place double-sided tape on the shaft where the grip will be placed and soak it with grip solvent. Pour a small amount inside the grip, then swirl it around until it is completely covered. Pour out the remaining solvent onto the double-sided tape, then put on the grip, making sure it is firmly set on the butt of the club.
What to use to insert graphite shaft?
If you are inserting a graphite shaft, it would be best to use a belt sander because you can easily damage it by using sandpaper. Also, rid the residue of the old epoxy for the hosel by using a wire drill bit.
Series Navigation
Using epoxy to install a shaft is not a difficult task, but I think some people get a bit confused when dealing with different types of golf clubs. Putters are fairly easy to do, but when re-shafting irons and woods, we have to install the ferrule as well, which is a bit confusing to the novice.
Series Navigation
Hey!! I'm Zach, the founder of The DIY Golfer. I created this site in 2015 while playing D1 collegiate golf to help myself understand the game of golf better and improve as a player. Fast forward a few years, and it has become much more than a journal.